How we run Ghost on Docker with subdirectory routing
Learn how to seamlessly integrate a Ghost blog running on Docker with subdirectory routing for SEO.

Deciding on the right blog platform is always a bit of a hassle, whether it's for my personal blog or my company. I often have to resist the urge to build something from scratch, which inevitably means sinking the next two weeks into coding yet another blog from the ground up.
When it came to setting up a blog for Phare.io, I made a conscious effort to minimize the time spent on setup. After some research, I decided on Ghost, a well-regarded content platform that seemed to meet all our needs. Self-hosting looked straightforward, and the documentation mentioned support for subdirectory routing, which was a key requirement for our SEO strategy.
But as is often the case, things weren't quite as simple as they first appeared. Hence, this blog post to guide anyone looking to do something similar.
Setting Up Ghost on Docker
To keep things organized, the plan was to isolate Ghost on its own server. For this, I spun up a new VPS instance on Hetzner running a Docker-CE image.
This instance runs on a private network without a public IP, and the firewall is configured to accept traffic only from Phare's NGINX server on port 8080.
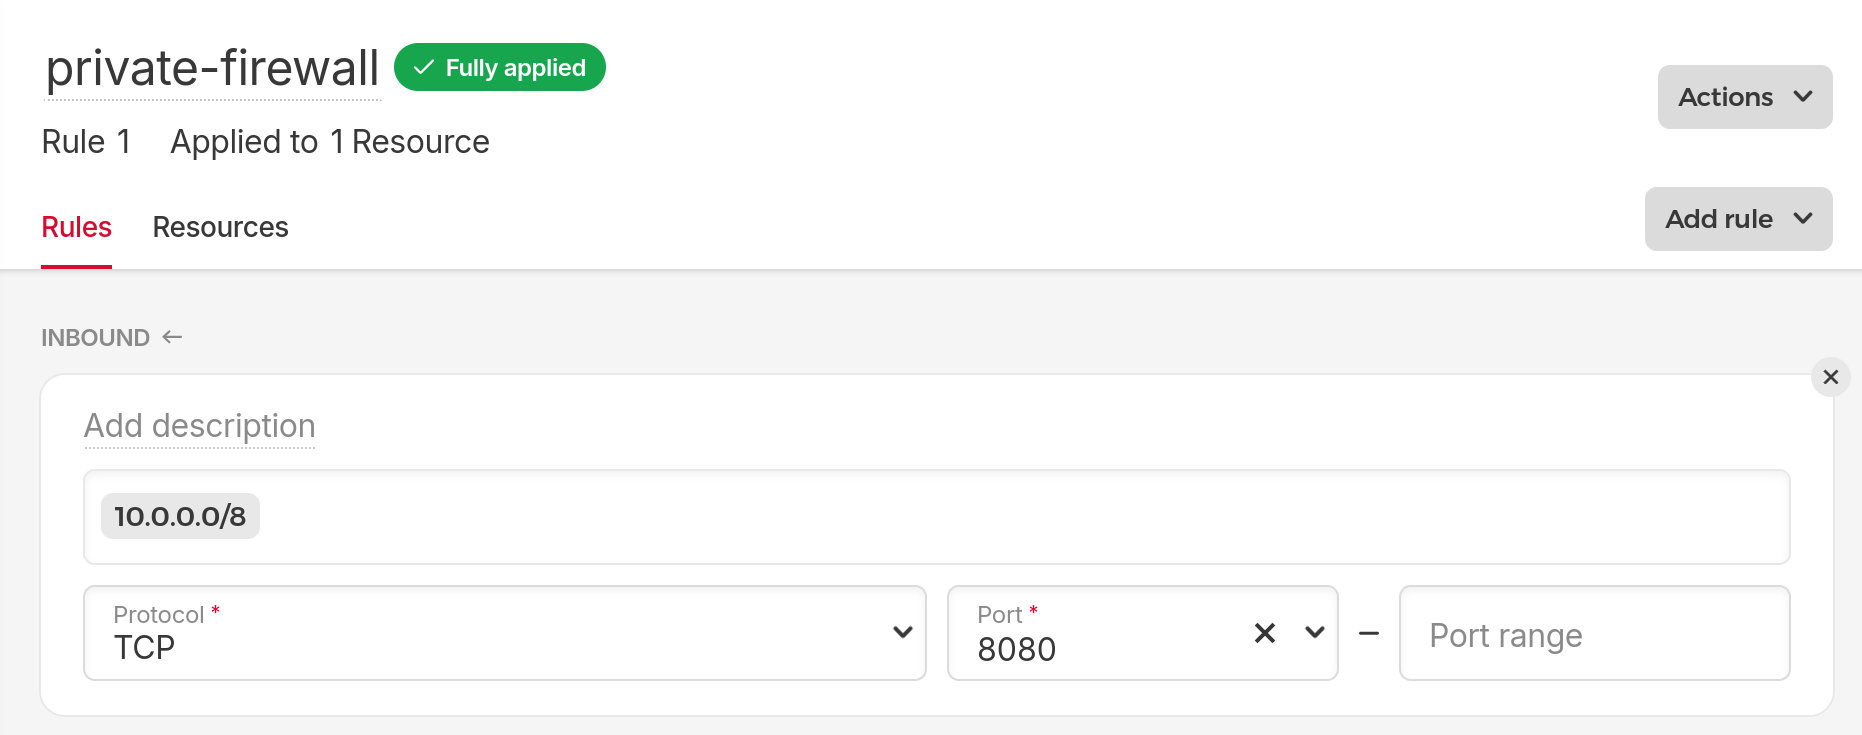
This setup might be a bit over the top for hosting a blog, but it was quick to implement and significantly reduces the attack surface, so there’s no reason not to do it.
With the server ready, the next step was to write a Docker Compose file to configure Ghost's Docker image on port 8080 along with a MySQL database:
services:
  ghost:
    image: ghost:5-alpine
    restart: always
    ports:
      - 8080:2368
    environment:
      database__client: mysql
      database__connection__host: db
      database__connection__user: root
      database__connection__password: {{ ghost_db_password }}
      database__connection__database: ghost
      mail__transport: smtp
      mail__options__host: {{ ghost_mail_host }}
      mail__options__port: {{ ghost_mail_port }}
      mail__options__auth__user: {{ ghost_mail_user }}
      mail__options__auth__pass: {{ ghost_mail_password }}
      mail__options__secure: true
      url: https://phare.io/blog
    volumes:
      - ghost:/var/lib/ghost/content

  db:
    image: mysql:8.0
    restart: always
    environment:
      MYSQL_ROOT_PASSWORD: {{ ghost_db_password }}
    volumes:
      - db:/var/lib/mysql

volumes:
  ghost:
  db:
Here are some key points to note in that file:
- The
ghostservice binds to port 8080, which is the one we opened on the firewall. - Both services use persistent storage, making backups straightforward.
- The
urlenvironment variable should be set to the public URL where your blog will be hosted.
Once the configuration is complete, you can start the services with Docker Compose:
docker compose up
In our case this step is automated with an Ansible playbook task:
- name:
  community.docker.docker_compose_v2:
    project_src: /docker/ghost
    files:
      - docker-compose-ghost.yml
    state: present
And just like that, we have a running Ghost instance.
Configuring Subdirectory Routing with NGINX
Phare.io uses an NGINX server to manage load balancing, headers, and a few other tasks. Our setup involves complex routing to allow users to create status pages on *.status.phare.io or their own domains.
For the blog, we wanted it to be accessible only on our main phare.io domain, so the first step was to adjust our configuration to ensure only phare.io was served, excluding any subdomains.
With that in place, I created a location block to route all /blog traffic to the Ghost instance:
server {
    listen 443 ssl;
    listen [::]:443 ssl;
    http2 on;

    server_name phare.io;

    # location / {
        # Configuration for our Laravel app
    # }

    location ^~ /blog {
        client_max_body_size 10G;

        proxy_set_header X-Forwarded-For $proxy_add_x_forwarded_for;
        proxy_set_header Host $http_host;
        proxy_set_header X-Forwarded-Proto $scheme;
        proxy_pass http://10.0.1.2:8080;
    }

    location ~* \.(jpg|jpeg|webp|png|svg|gif|ico|css|js|eot|ttf|woff)$ {
        gzip on;
        expires 1M;
        access_log off;
        add_header Cache-Control public;
    }
}
I removed a few irrelevant lines, here are the important details:
- As recommended by the Ghost documentation, set a high
client_max_body_sizeto allow large file uploads via the Ghost admin panel. - The
^~directive in the location block ensures no other location block takes precedence, which is crucial to prevent interference with the caching rules further down that could break asset loading. - The
proxy_passdirective points to our Docker server's private IP10.0.1.2and the previously opened port8080.
Accessing the blog
With everything set up, the blog is now accessible at phare.io/blog, and the admin panel at phare.io/blog/ghost. Our Ghost Docker instance runs securely on a private network.
To speed up asset loading and caching, we use bunny.net on the phare.io domain. Most of our existing rules worked seamlessly on the blog, but I hit a snag when Ghost couldn’t create a session cookie, preventing me from signing in.
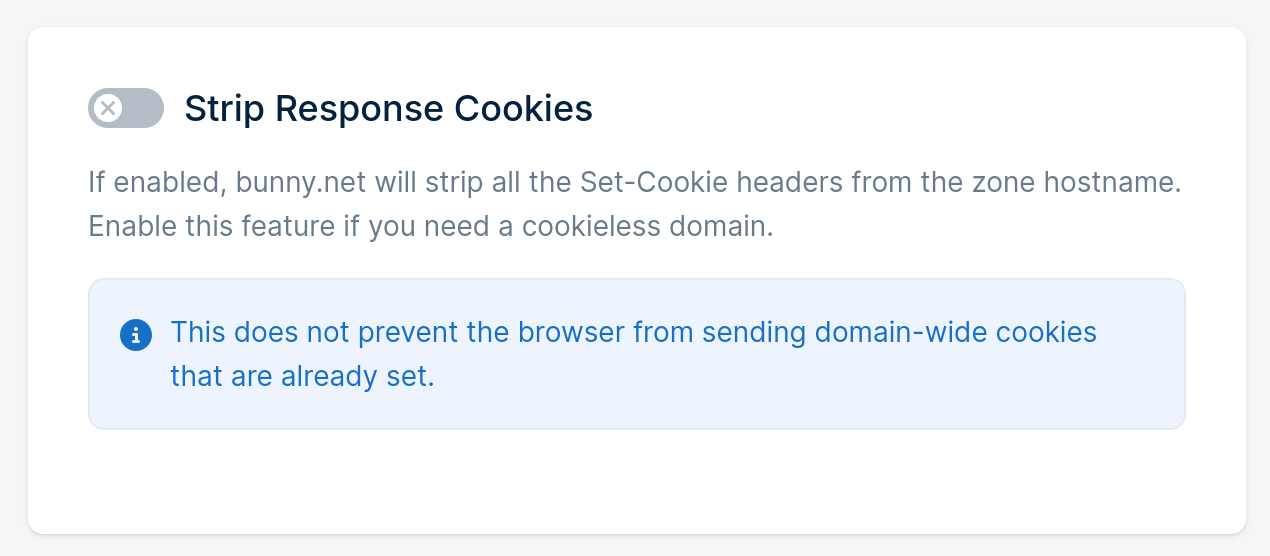
The problem was that cookies were disabled on the domain. Changing this setting solved the issue without affecting the rest of the site, as Phare only uses session cookies on the app.phare.io domain. However, a potential improvement could be moving Ghost's admin panel to its own subdomain, which would allow this setting to be re-enabled.
Conclusion
Hosting a Ghost blog on a /blog subdirectory path using NGINX is a practical solution when you want to seamlessly integrate your blog with your main website. While it requires some configuration, the benefits for SEO and branding make the effort worthwhile.
I hope this post helps you in setting up your own Ghost blog. The Phare team is delighted with the platform so far, and I’m glad I didn’t spend weeks building a half-baked in-house solution.
Would you like to make sure your blog or any other part of your website stays online? Create a Phare account for free and start monitoring your website today.